Fun Stuff is where you’ll find diversionary posts about ice cream. Things like humour, surveys, quizzes and such. Ice cream is already pretty fun, but it’s nice to have something to do while you’re eating it.
Classics
Classics is where you’ll find iconic ice creams from yesterday and today. Things like history, allegory, and urban legend, plus some recipes, how-tos and pop culture. From the early days of ‘Cold Butter’ to dehydrated ice cream in space.
Toppings
Toppings is where you’ll find all sort of things to put on top of your ice cream. Things like cookies and chocolate chips, hot fudge and caramel, and fresh fruit or nuts. Plus some surprises, and cool things you can make yourself.
Ideas
Ideas is where you’ll find new and exciting ways to make, eat and serve ice cream. Ideas is broken down into 4 subcategories for easy use.
Non-Dairy Options
Non-Dairy Options is where you’ll find ways to do frozen desserts without animal milks. While much of this section will be vegan, it is not a given. You will find things like coconut milk, other kinds of milks, as well as things like Sorbets and Sherberts.
Ingredients
Ingredients is where you will find details about all kinds of things to put in your ice cream, from the essentials, like cream and sugar, to additions like fruit and cookies, and even things you might not have thought possible.
Equipment
Equipment is where you will find details on the useful tools and things involved in making ice cream. Things like kinds of machines, handy kitchen tools to have on hand, managing the workspace, and fancy accessories.
The Basics
The Basics is where you can find the fundamentals of making ice cream. Stuff like The Basic Recipe, how to use an ice cream machine, and other simple tips and tricks to get you started, and keep you at it.
My Machine
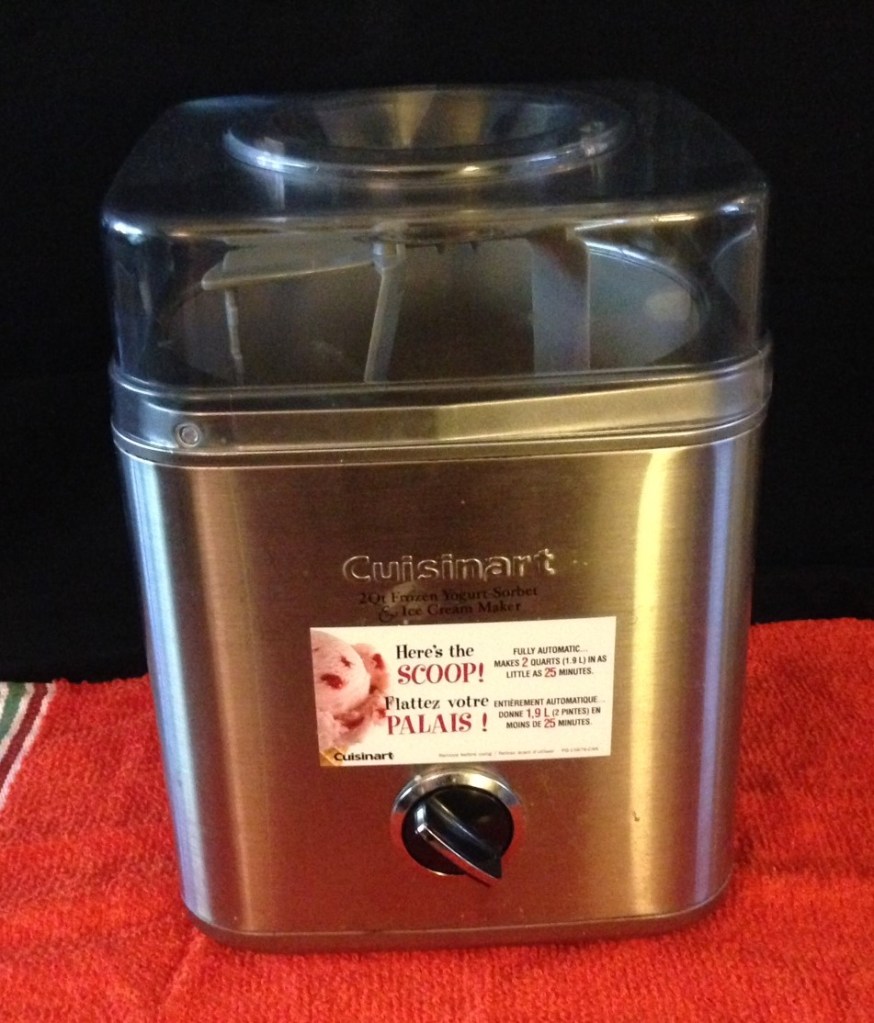
I use the Cuisinart Pure Indulgence Ice Cream Maker. It’s one of two ice cream machines I’ve ever had. The other was a tiny hand crank machine I had when I was a kid. I used it to make frozen yogurt a few times, but otherwise it just took up space in the freezer. Not so the Cuisinart.

I did my research first. I’m not a Cuisinart employee, or have any deal with them. But I’m a huge fan of this machine. I went looking on websites for highly rated and well-reviewed machines, and this one came up at the top of pretty much every list. I dug a little deeper, and looked into the comments, and still found that people were saying the right things about the machine.

I was looking for the following: ease of use, minimal mechanism, easy cleanup, durability, possible replaceability of parts, modest size, good capacity, no cranking or shaking, good warranty and a reliable brand. Nothing fancy, you know?
Turns out it’s easy to use. You turn it on, and it goes. The mechanism is just a rotating motor, and it doesn’t go fast, or get taxed much. Cleanup is pretty simple, especially with only 3 parts needing washing. Durability is best in hindsight. I’ve had it for almost 3 years without any change in performance.
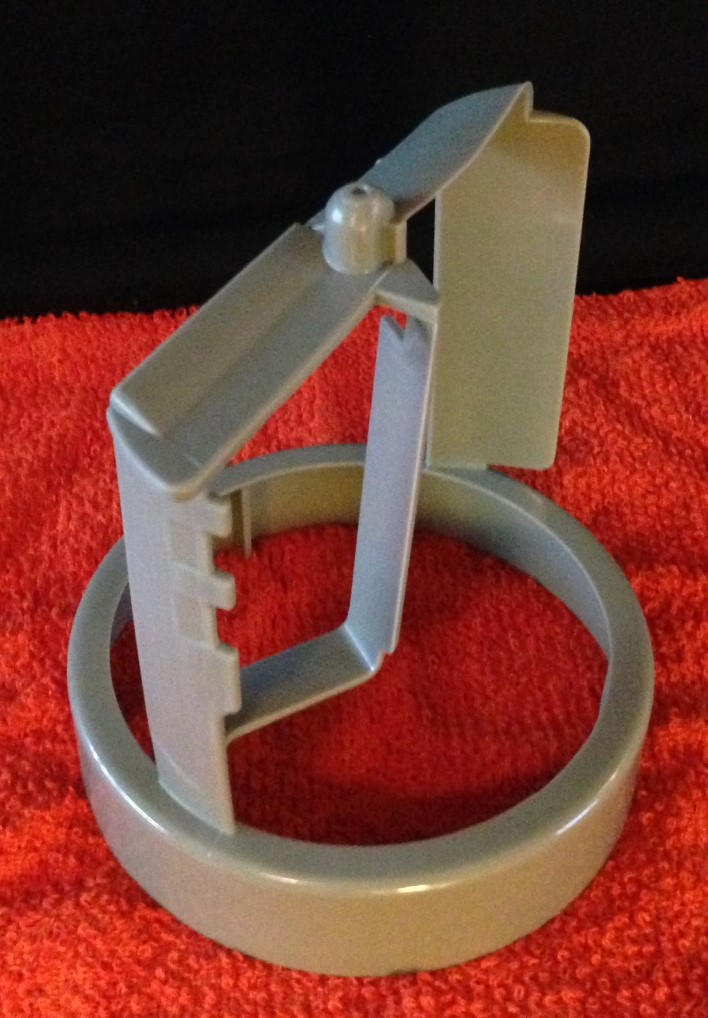
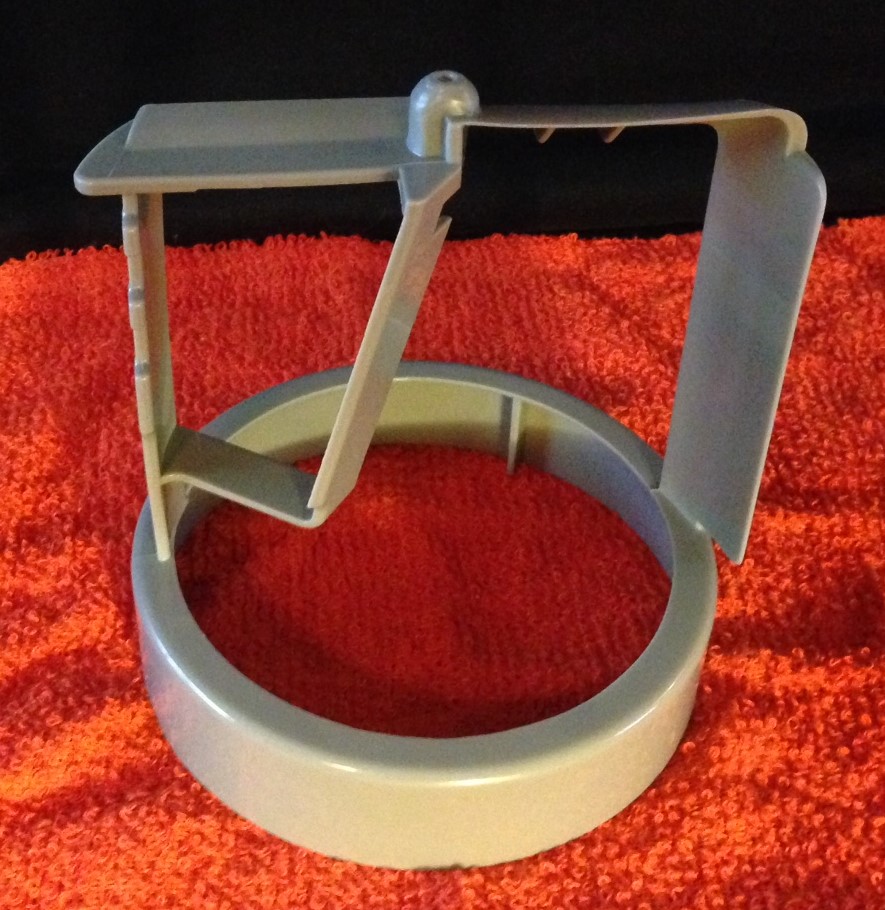
As far as replacing parts is concerned, I’ve looked into it, and it’s possible. I don’t want to have to do it, but I looked into getting a second freezer bowl, and all I had to do was pay and wait.
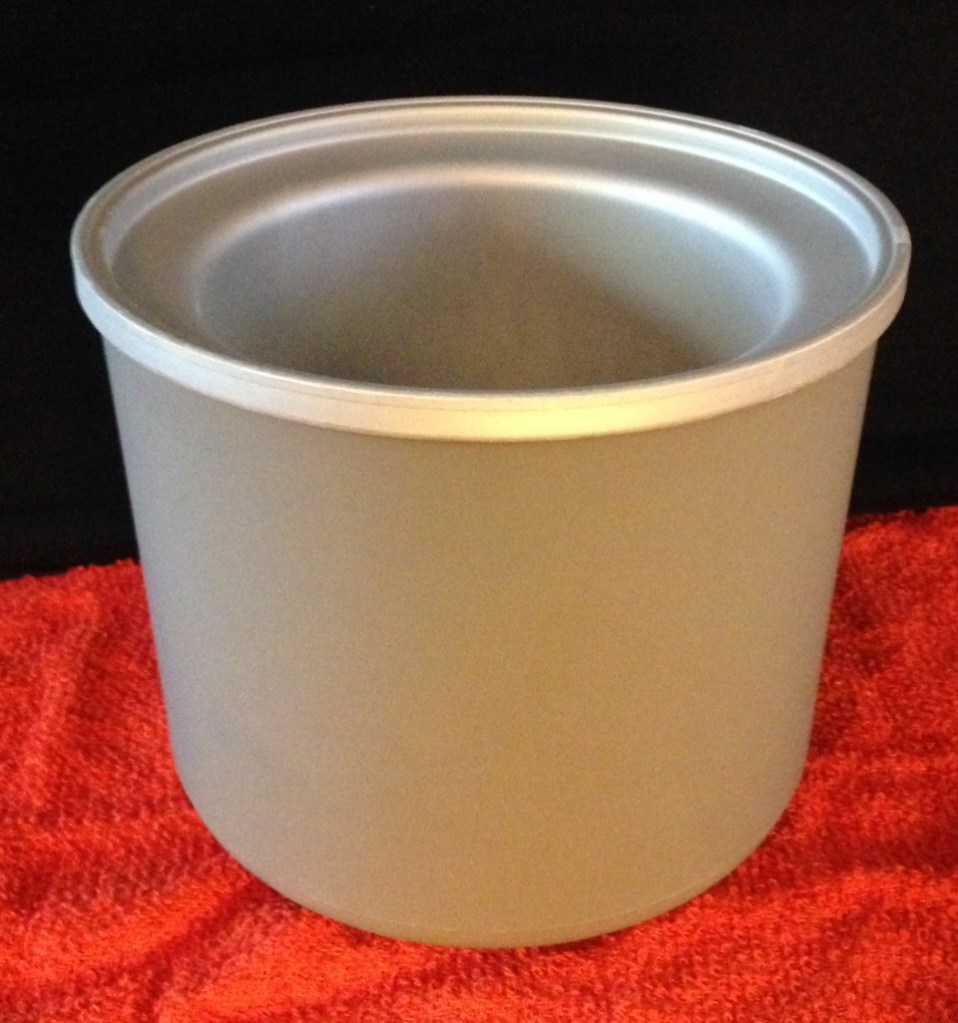
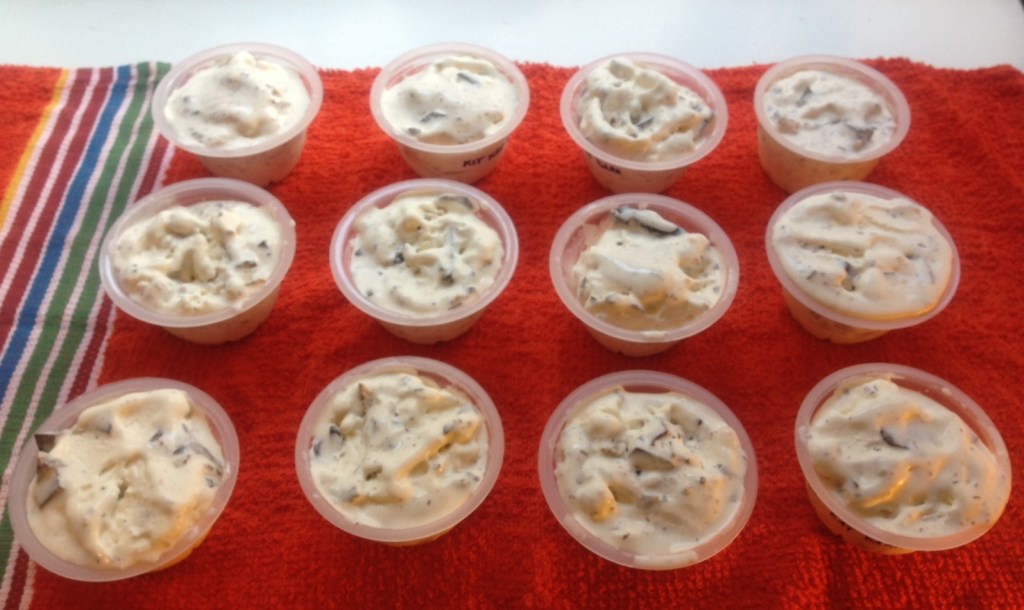
Modest size is important because kitchens and countertops only have so much space. The machine is a decent size, but being a cuboid helps it fit into nooks, corners and such. One thing to note is the size of the freezer bowl. It will take up a good percentage of a fridge freezer, and is best for use with an independent freezer unit. The tradeoff for decent size is really good capacity. Being able to make a full litre-sized batch of ice cream at one time is fantastic. If you’re clever about it, you can make it serve 12 people or more!

No cranking or shaking is my preference. I do hand whip all the whipped cream I use, but cranking or shaking an ice cream machine on a regular basis is a no-go. Like I said, I had a little crank machine when I was a kid. If you honestly believe you or your kids are going to crank or shake ice cream into being more than a couple of times, I feel for you. Get one with a motor.

Finally, good warranty and a reliable brand go hand in hand. I used to work for a kitchen supply store, and we sold various Cuisinart items there. There were similar options as well, and each brand had a few things they did better than the others. Something Cuisinart did the best was follow up and warranty. No questions were asked beyond what caused the failure, and the product rep was great. She was genuinely happy in her work, and cared about the details. It’s because of her that I will always consider Cuisinart when considering a small appliance.
Something I didn’t bring up here is gimmicks. I suppose shaking and cranking could be considered gimmicks, but I’m talking about sprinkle compartments, licensed characters, weird shapes, soft-serve nozzles, fruit grinders, and stuff like that. The best gimmick is easy-to-produce ice cream that you want to eat. You want more gimmicks than that? Get into toppings.
My research was rewarded. I have a lot of great things to say about this machine. Like every machine I’ve ever used, it required a bit of a learning curve. But patience and perseverance have resulted in several hundred batches from my modest little Cuisinart. I have done 5 batches in 48 hours with careful planning, and have gone entire weeks where I did a batch every day. I’ve even produced enough ice cream for a 75 seat charity event, including a dozen or so staff.
Kudos to you, Cuisinart Pure Indulgence Ice Cream Machine! Most highly recommended for all home ice cream makers.
The Basic Recipe
Here’s the recipe. Technically it makes vanilla ice cream, but it’s pretty odd without an extract of some kind.
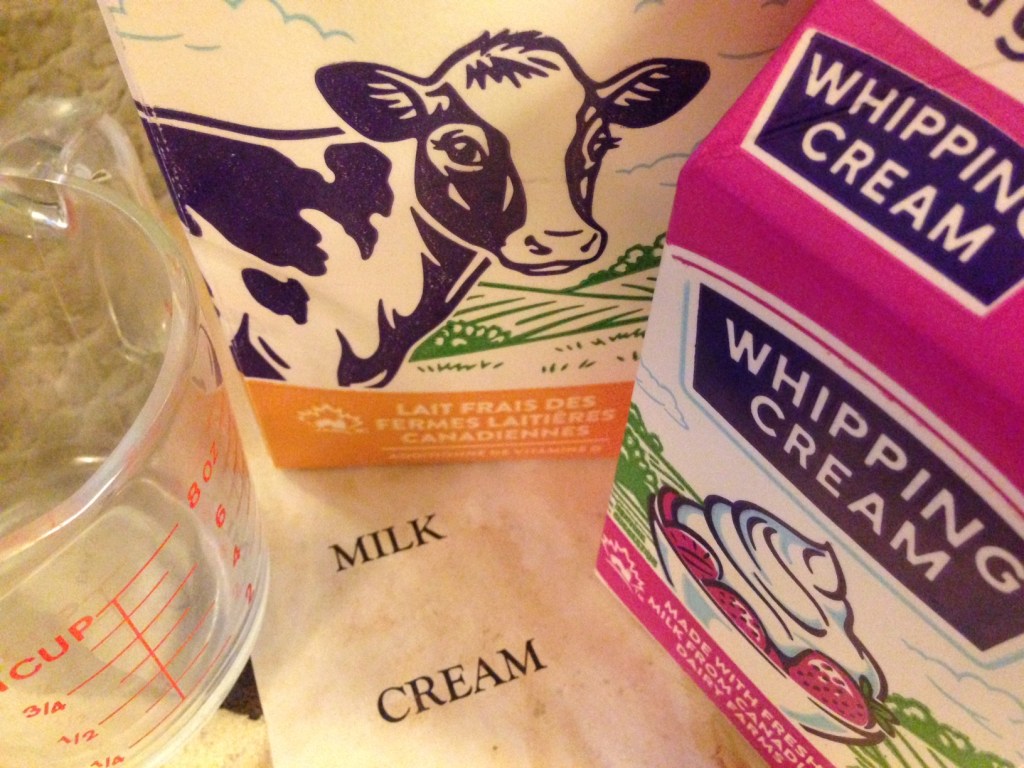
2 cups homogenized milk (3%)
1 cup whipping cream (33%)
1/2 cup sugar
3 egg yolks
1 tsp vanilla
- Heat the milk and sugar together over medium low heat in a saucepan. Stir fairly frequently until the sugar is dissolved.
- While the milk mixture is heating, separate your egg yolks from your egg whites and put the yolks in a small bowl.
- When the milk/sugar mix starts to show regular wisps of steam and the sugar is fully dissolved, whisk the yolks together in the bowl, then ladle small amounts from the milk mix into the bowl with the yolks while whisking them. This brings the temperature of the yolks up gradually so they don’t scramble when you add them into the milk mix.
- When the yolk mix is ready (I usually get it to 50/50 milk/yolk), slowly pour it back into the saucepan with the milk mix while stirring. Keep stirring slowly. The milk/yolk mix is going to cook a little.
- After a while, you will feel a slight change in the mixture while you’re stirring. It will become a bit thicker. I think of it as gaining some resistance. Some say it will coat the back of a spoon, but I find that nebulous. It’s now a loose custard.
- 160 degrees Fahrenheit is the foodsafe requirement for the custard.
- Let the mixture cool slightly, then strain it into a large container.
- Add the cream and vanilla and stir.
- Let the mixture chill. Overnight is ideal. 4 hours is a good minimum.
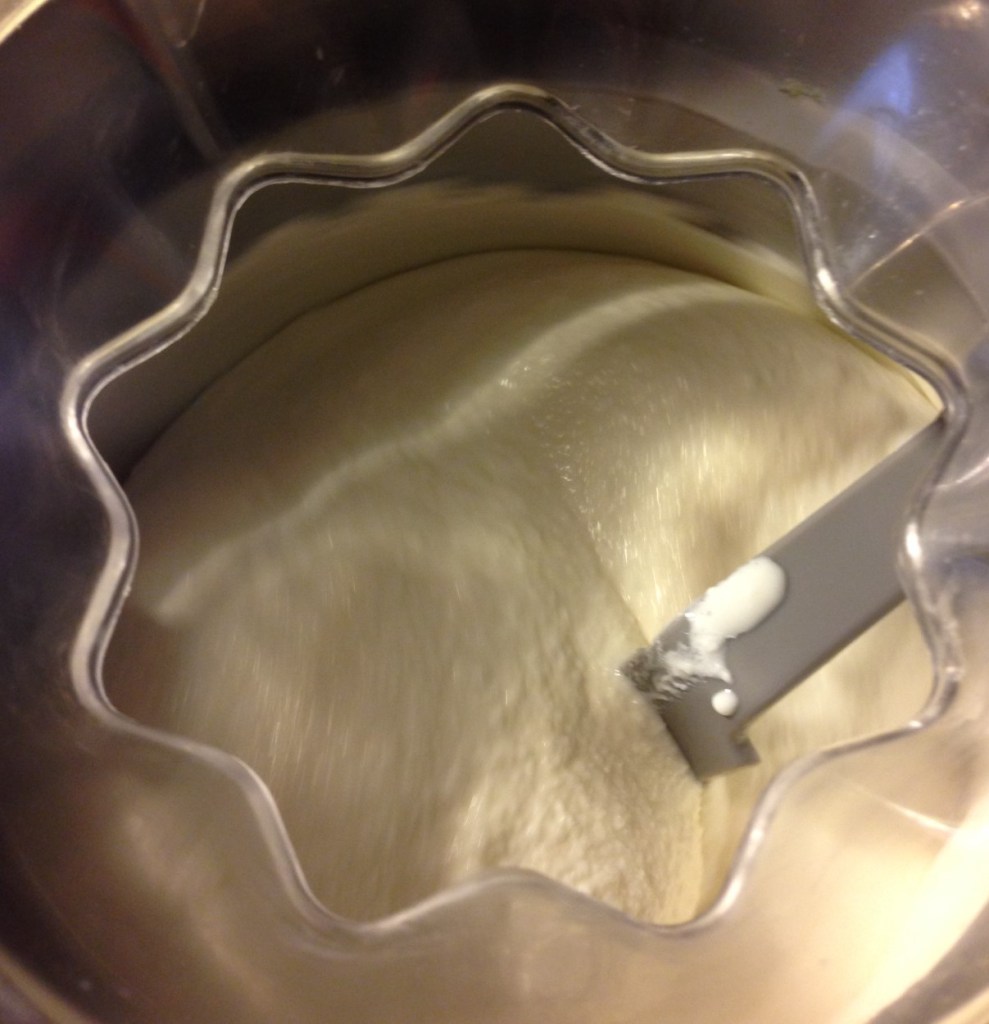
- Get your ice cream machine ready, and add the mixture.
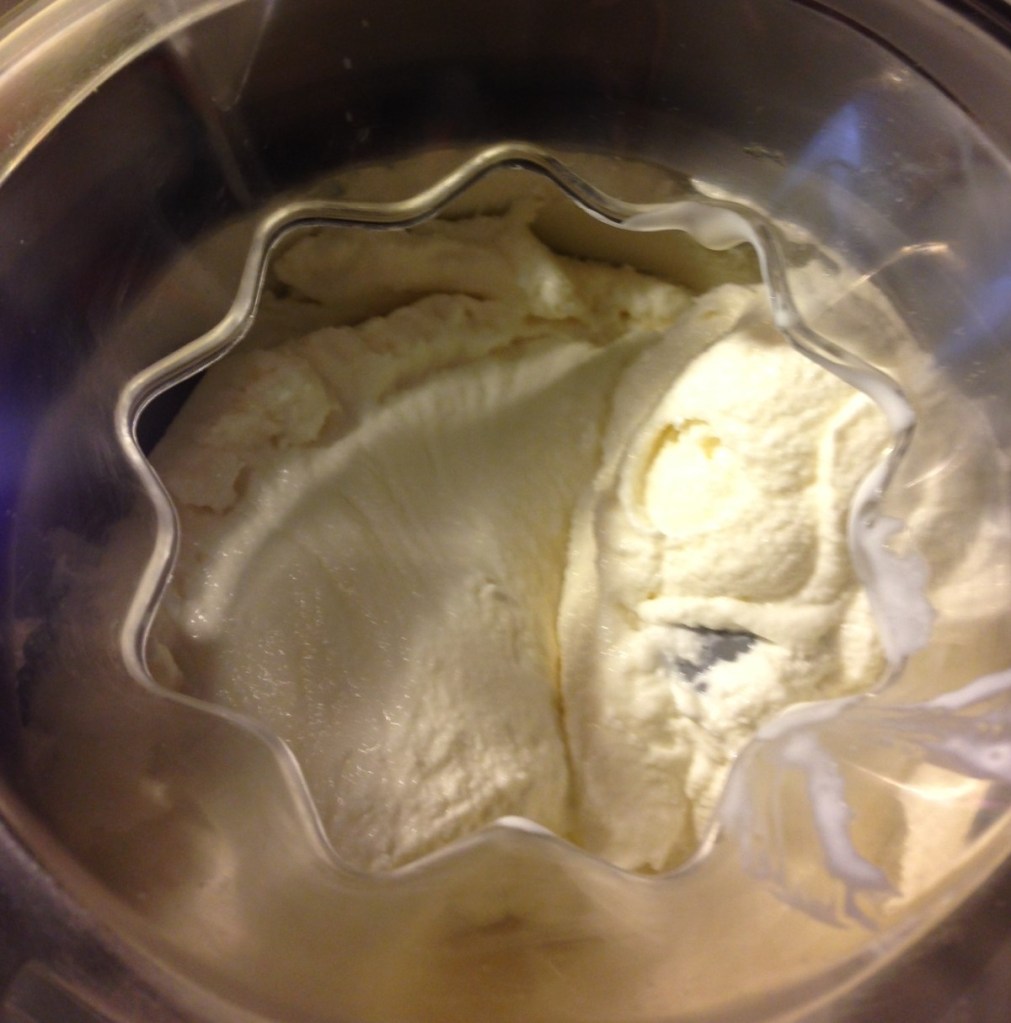
- Run the machine until the mixture has reached a smooth, cream consistency, with minimal visible ice crystals. My machine does this in about 20 minutes for this recipe, but it’s smart to know what you’re looking for in your ice cream rather than relying on a time. Temperatures can make a huge difference. Same with different makes and models of machines.
- Scoop out the ice cream into a freezer safe container or containers.
- Freeze immediately.
- The ice cream will be ready to scoop after about 40 minutes-1 hour in the freezer.
This recipe is only sort of mine. I’ve spent enough time on the internet to know that I’ve taken a basic concept and tweaked it until I’m happy with it, and probably did so in the exact same way as thousands of others. This is not some unique secret, and I’m not claiming to have invented anything here. As a general rule for ice creams that I make, I’m going for max creamy and not-too sweet. I’m not sold on scalding, however, which is a future post. All the ingredients I use are from the grocery store, and not from a fancy one. Nothing about the recipe is complicated, and after doing it a few dozen times, I can do it in my sleep.
Something I will point out is a neat little trick involved with the recipe that reflects portioning and regular ice cream making. Each of the milk, cream and egg ingredients come in portions that can be broken down to make the recipe. Common sizes are a 2L jug of milk, 1L cartons of cream, and eggs in dozens. Other than the eggs, these are often the cheapest sizes available. If you look at my recipe, you’ll see that the milk, cream and eggs go into these portions four times. That is, if you buy a 2L milk, a 1L cream and a dozen eggs, you can make four batches of my recipe. You can also do it half, with a 1L milk, 500ml cream and egg sixpack.

Cost wise (for me), 4 batches of ice cream is $5 for milk, $4 for cream, $3 for eggs, and less than a dollar for the sugar and vanilla combined. That’s a whopping $13, or $3.25 or so per batch. You can probably buy a large tub of flavoured frozen goo for that in a bulk section somewhere, but no premium ice cream compares to that. A batch is around 1L, or more once you factor in things like adding cookies. A lot of premium ice creams can cost $7 or more for half of that (500ml). Can you get the costs down? Buy bigger? Absolutely.

Sugar and vanilla both keep well, can be bought in a very large size to keep costs low, and can be drawn from on a regular basis. As long as you’re keeping your milks, creams and eggs fresh and rotating, you can start to build up a nice little ice cream routine, where you’re making it often! This is also just a very basic recipe. There are uncountable ways to go with it, things to mix into it, and stuff to put on top of it. How cool is that?
